
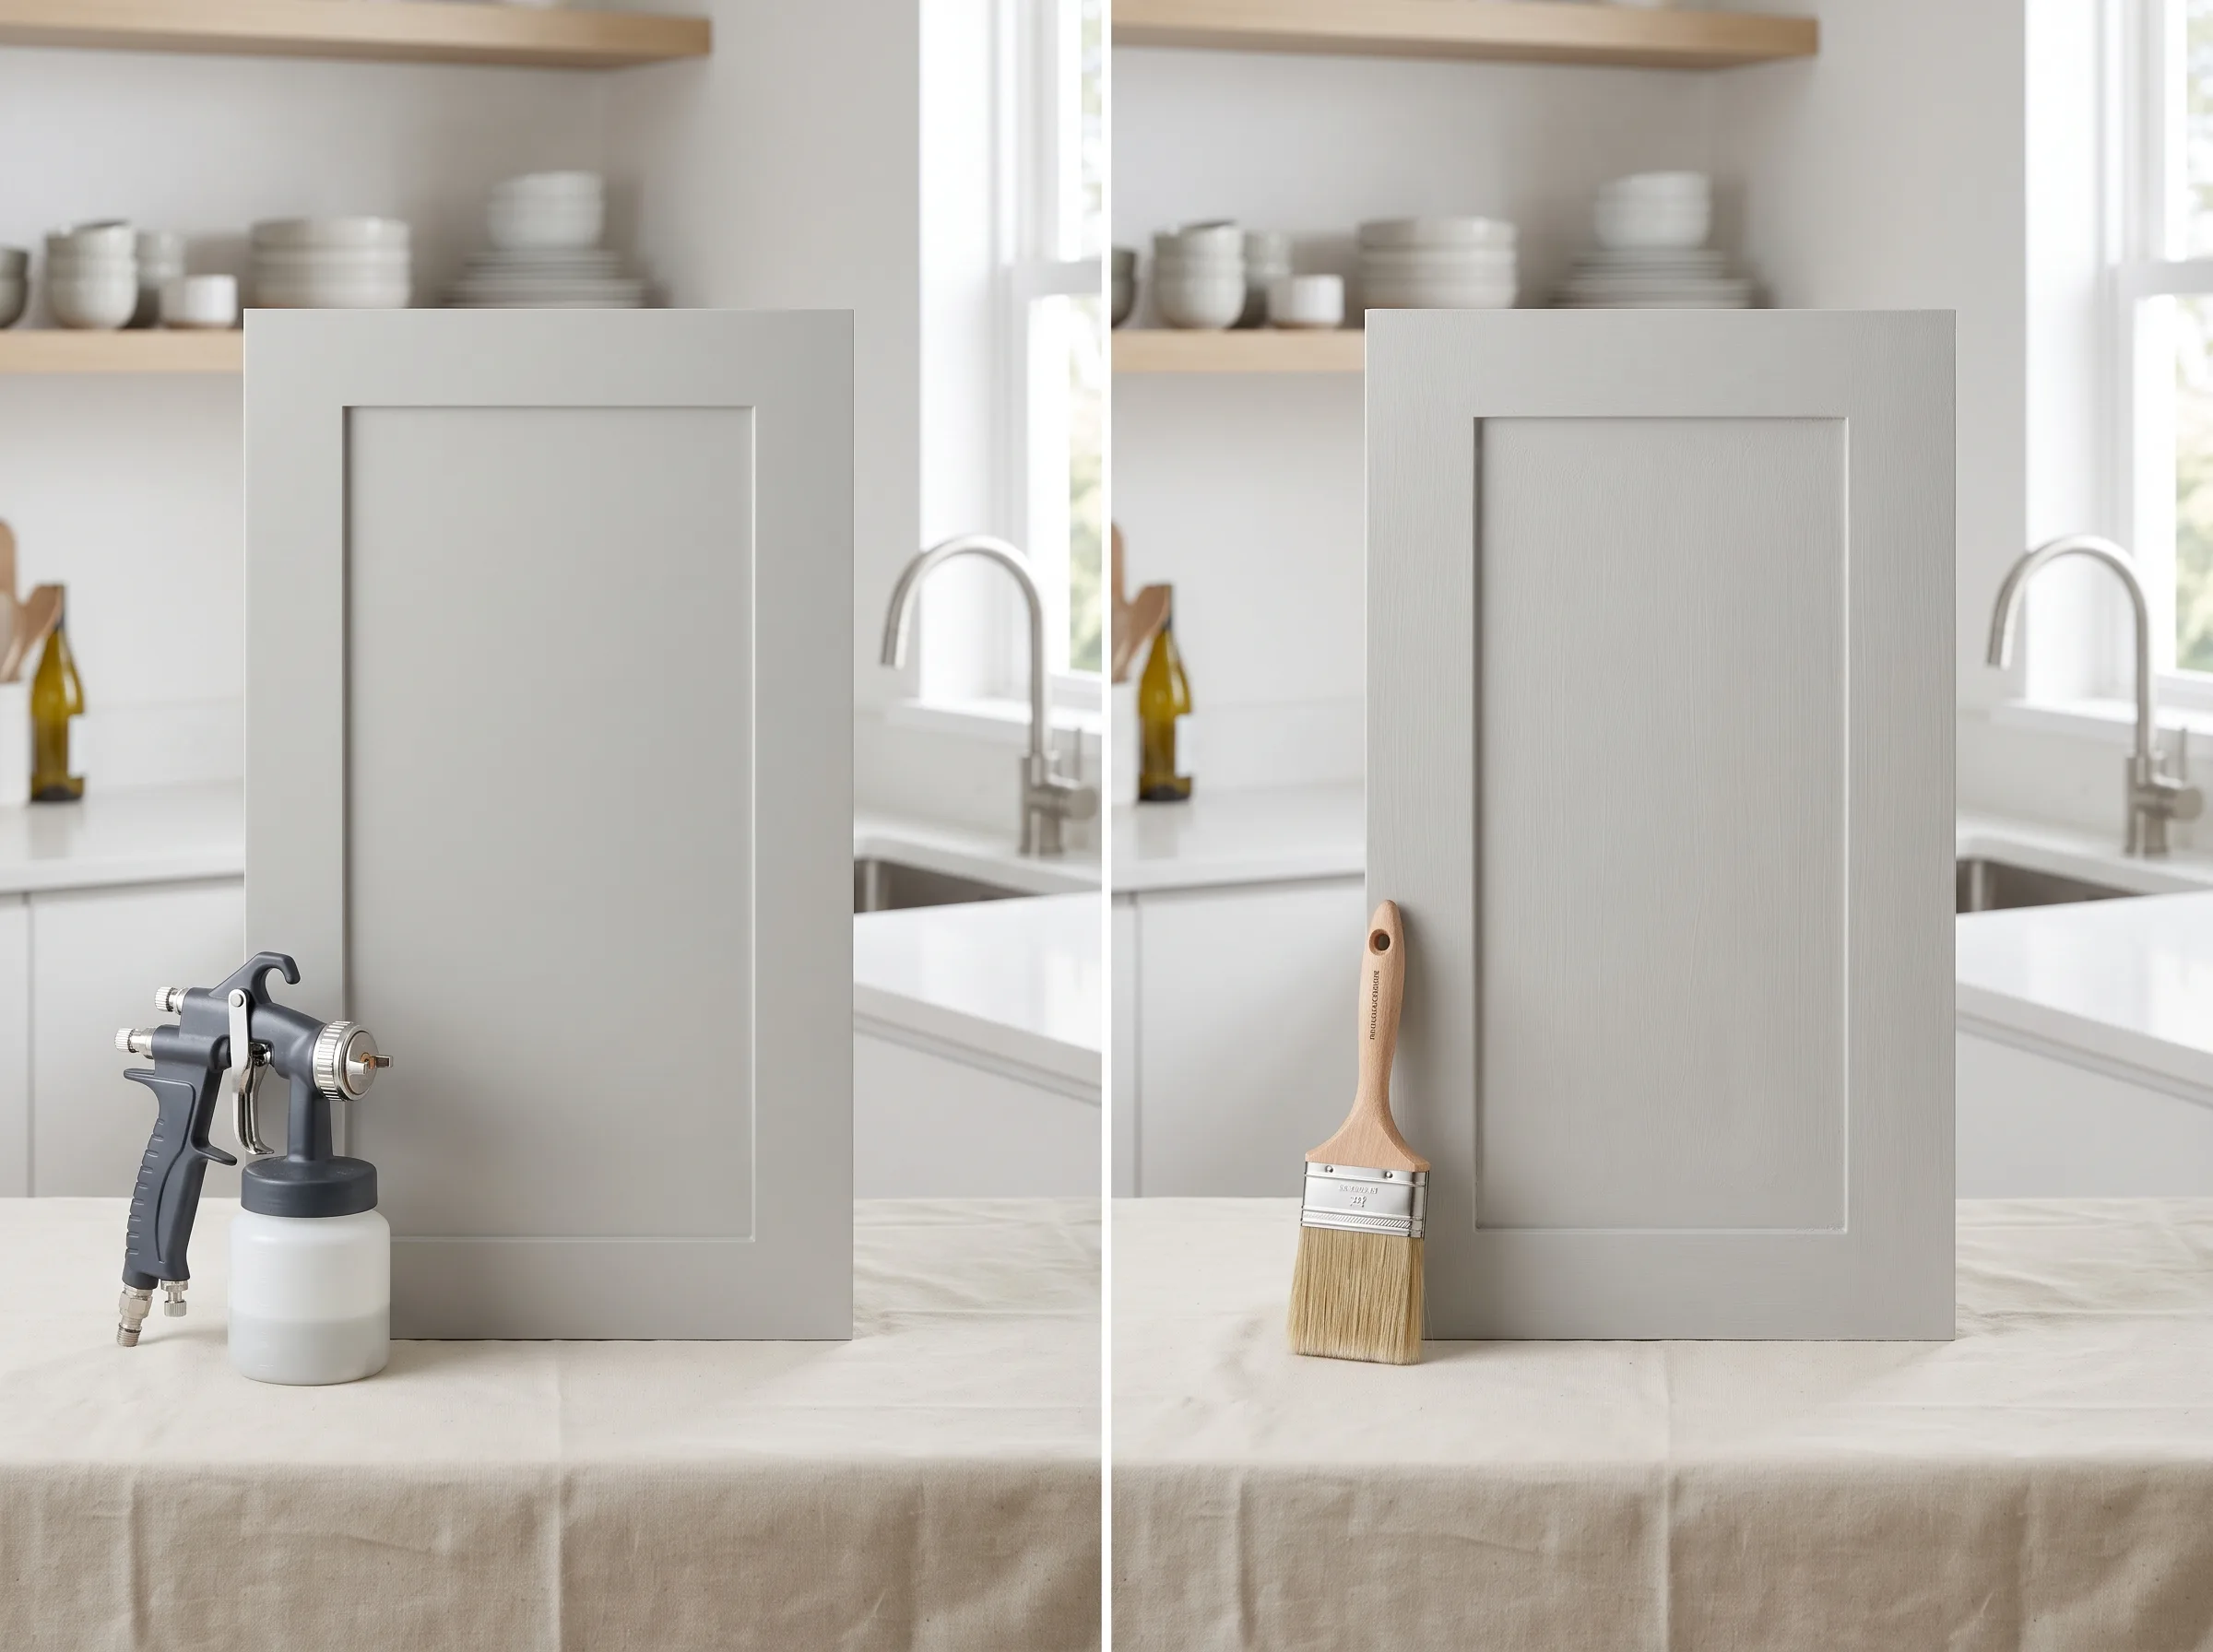
When deciding between spraying or brushing kitchen cabinets, the short answer is that spraying delivers an ultra-smooth, factory-style coat with no visible brush marks, while hand-brushing leaves a subtle, traditional texture and is far easier to repair later. Neither is simply "better" - the right choice depends on your units, your materials and how much disruption you can accept at home. Below we break down the practical differences so you can make an informed decision.
What Is the Difference Between Spraying and Brushing Cabinets?
Spraying atomises the paint into a fine mist, laying down an even film that self-levels into a seamless surface without brush strokes. Brushing (often called hand-painting) applies the coating directly with a brush and roller, leaving a light, characterful texture that many associate with classic craftsman-built kitchens.
In British homes the two approaches also differ in logistics. Spraying is typically done by removing the moving parts - doors and drawer fronts - and finishing them in controlled workshop conditions, known as an off-site spray booth. The fixed carcasses and end panels are then masked up and worked on in your home. Brushing, by contrast, is usually carried out in place, which keeps the process less invasive.
It is worth noting the terminology here. What many call "cabinets" are more commonly referred to as kitchen units or kitchen cupboards by UK decorators, and the box structure behind the doors is the carcass.
Which Method Gives a More Durable Finish for Kitchen Cabinets?
A sprayed coat can cure into a very hard, uniform shell that resists chips and stands up well to chemical splashes, which is one reason it is favoured for a crisp, contemporary look. Hand-applied acrylic coatings tend to remain slightly more flexible, which can help them cope with timber that moves over time.
That flexibility matters on framed Shaker-style doors, where the joints between the rails and stiles naturally expand and contract with humidity. Fine hairline cracks can appear along these joins, and a more elastic brushed film often handles that movement more forgivingly than a rigid sprayed one.
Whichever route you take, durability starts with preparation. Thorough degreasing with sugar soap, keying the surface with abrasive paper, and applying the correct bonding primer all decide how well the top coats bond and last. In the UK, the resistance of furniture coatings - to steam, grease and scratching - is assessed against criteria published by the Furniture Industry Research Association (FIRA).
How Long Does Each Method Take to Complete?
Timing depends on the number of doors, the material and the finish, but the working pattern differs between the two methods. Spraying involves removing and transporting doors and fronts, masking the kitchen, then multiple thin coats with drying time between each, before everything is refitted.
Brushing keeps components in place, so there is less dismantling, though each coat is applied more slowly by hand. In both cases, drying and full curing are separate things. Water-based and hybrid alkyd or acrylic paints dry to the touch relatively quickly, but full chemical curing can take from a couple of weeks to several weeks.
During that curing window, stable ventilation and temperature really matter. Damp, cold conditions slow curing and can cause moisture to condense on cool fronts, so it pays to keep airflow steady and avoid scrubbing the units too soon.
Comparing Spraying or Brushing Kitchen Cabinets Side by Side
The table below summarises the main trade-offs. Use it as a quick reference, then read the sections that follow for how each point applies to your kitchen.
| Criterion | Spraying | Brushing (hand-painting) |
|---|---|---|
| Appearance | Ultra-smooth, factory-style, no brush marks | Subtle brush texture, traditional character |
| Durability | Hard, uniform shell, strong chemical resistance | More flexible film, forgiving on timber movement |
| Disruption at home | Doors removed and finished off-site; carcasses masked in place | Usually done in place, less invasive |
| Touch-ups | Deeper damage often needs the whole part re-sprayed | Local repairs and retouching are simpler |
| Ventilation needs | Requires extraction and respiratory protection | Lower airborne mist, standard ventilation |
| Best suited to | Modern, seamless looks; smooth MDF or slab doors | Shaker and traditional units; frequent handling |
Which Finish Is Easier to Touch Up Later?
For everyday life - especially with children or pets - the ease of repair is a genuine deciding factor. Hand-brushed units win here, because a small chip or scuff can often be blended in locally with a brush, matching the surrounding texture reasonably well.
Sprayed finishes look flawless when new, but their uniformity is exactly what makes local repairs tricky. A deeper knock frequently means removing the affected door and re-spraying it as a whole element back in workshop conditions to keep the coat even.
On the question of sheen, both methods work best with practical finishes. In UK kitchens, satin (satinwood) and eggshell are the standard choices for wood and MDF fronts because they wipe clean of grease and cope with moisture. A flat matt is generally discouraged on fronts, as it is more prone to marking and burnishing where hands touch it.
Which Option Suits My Kitchen Layout and Materials?
Material drives a lot of the decision. Bare timber, MDF and vinyl-wrapped or laminate doors each behave differently and call for the right bonding primer, so the surface you have influences both preparation and the sensible method.
Layout matters too. If your kitchen has visible end panels and awkward runs where on-site spraying would be hard to ventilate properly, a considered split often works best: fronts sprayed off-site, carcasses and panels hand-finished in place. Because spraying produces paint mist and solvent vapours, HSE guidance and the COSHH regulations require proper ventilation - such as local exhaust ventilation or a spray booth - plus respiratory protection, which is why booth work is usually done off-site.
- Choose spraying if you want a seamless, contemporary look on smooth doors and can accept doors being taken away temporarily.
- Choose brushing if you have Shaker or traditional units, want minimal disruption, and value easy future touch-ups.
If you are unsure which suits your units, our team can assess the doors, materials and layout and advise on professional kitchen cabinet painting tailored to your space, keeping you informed at every stage.
Final Thoughts on Choosing Your Finish
There is no single winner between spraying and brushing - there is only the method that fits your kitchen, your materials and how you live. Spraying rewards you with a smooth, modern coat; brushing offers character and easier repairs. Good preparation, the right primer and patience during curing make the biggest difference either way.
If you would like guidance based on your own units rather than general advice, we are happy to help you weigh up the options and plan the work. Get in touch for a free, no-pressure quote and an honest recommendation for your kitchen.
FAQ - Frequently asked questions
Can spraying and brushing be combined in one kitchen?
Yes, a mixed approach is common in UK homes. Doors and drawer fronts can be sprayed off-site for a smooth look, while carcasses and end panels are hand-finished in place where ventilation for spraying is limited.
Do I need to empty my kitchen before the work starts?
It helps to clear worktops and the contents of any cupboards being painted so surfaces can be degreased and masked properly. Your decorator will advise what to move and how the space will be protected during the project.
How soon can I clean my newly painted units?
Avoid aggressive cleaning while the coating is still curing, which can take from a couple of weeks to several weeks depending on humidity and temperature. In the meantime, wipe gently and keep ventilation steady to help the finish harden fully.
Why is degreasing with sugar soap so important beforehand?
Kitchen fronts collect grease and grime that stop paint bonding, so thorough degreasing with sugar soap is a key first step. Combined with light sanding and a suitable primer, it gives the top coats the clean, keyed surface they need to adhere well.