
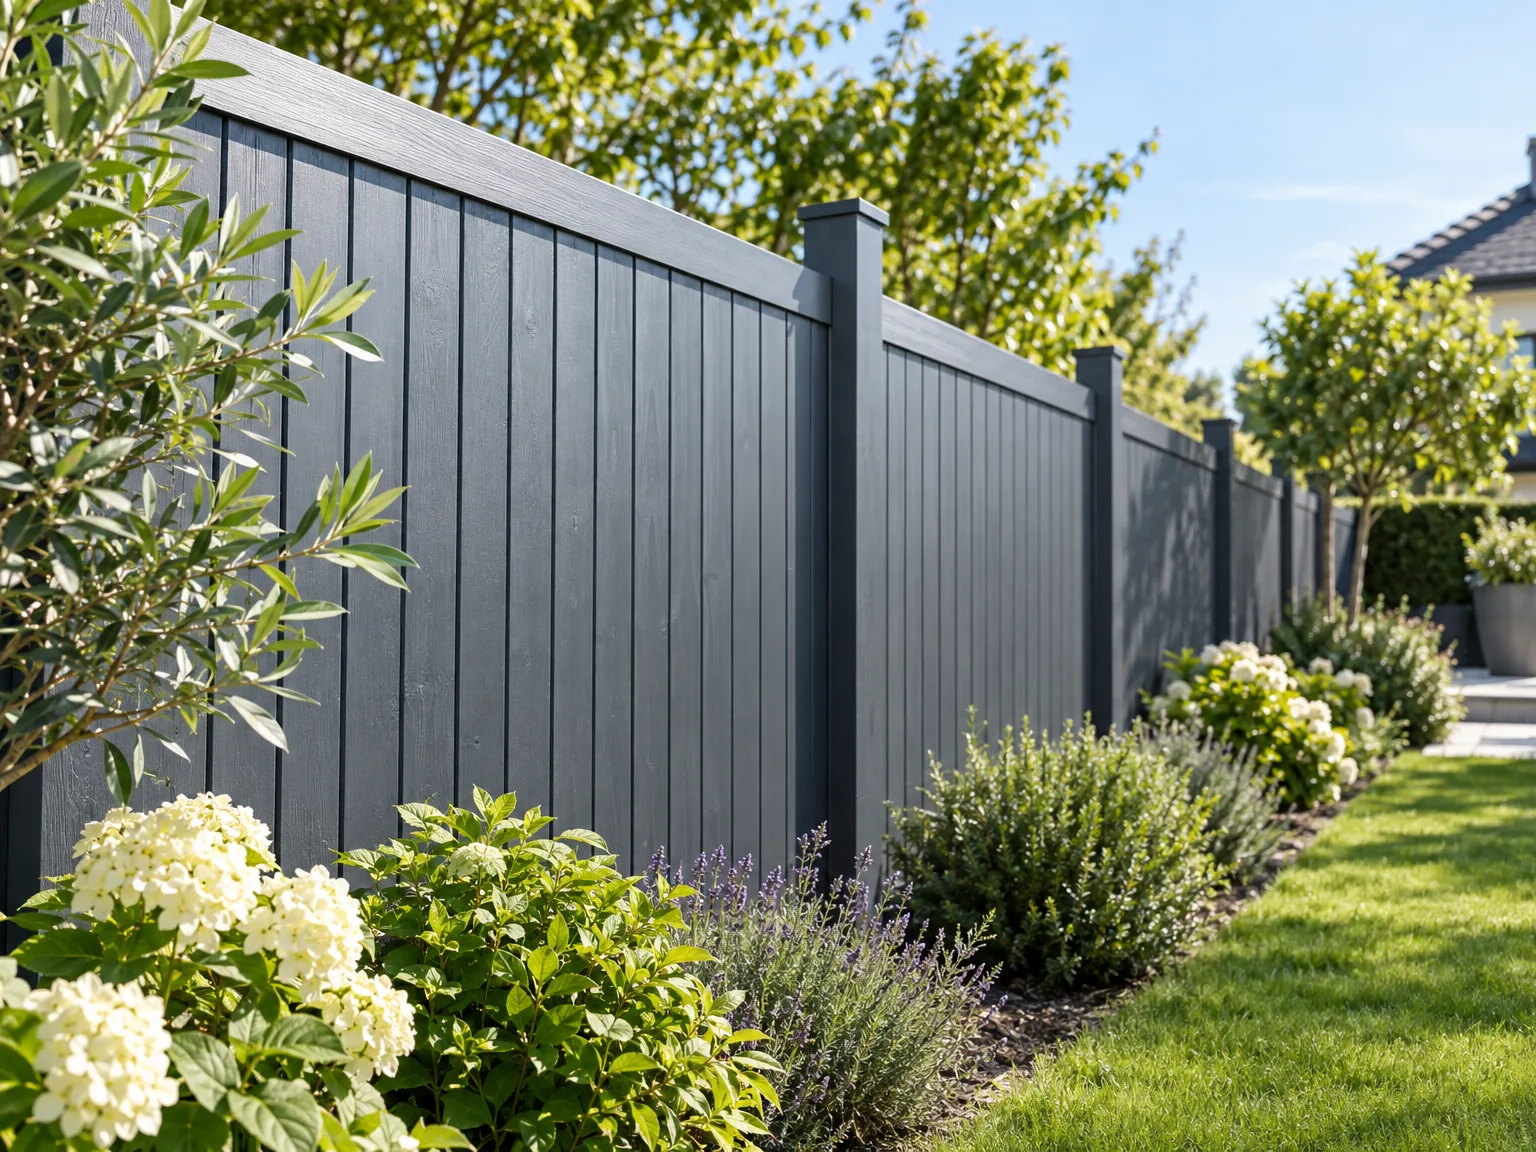
Keeping a painted fence in good condition comes down to regular cleaning, timely recoating and protecting the timber from trapped moisture. With a little seasonal care you can extend the life of the finish and keep your boundary looking sharp. Below we explain how to maintain a painted fence through each stage, from spotting early wear to preparing the timber for winter.
What Causes Paint to Flake on Garden Fences?
Flaking rarely starts at the surface - it begins with moisture. The most common reason paint lifts from a garden fence is trapped water combined with the timber's natural cycles of swelling and shrinking as the weather changes. These movements put the coating under constant stress and gradually weaken its grip on the wood.
Another frequent culprit is painting over a damp surface. Boards that have been washed or caught in the rain need to dry for roughly 24 to 48 hours before any paint goes on; coating wet timber traps moisture underneath and leads to blistering and peeling.
Freshly fitted panels bring their own challenge. Pressure-treated (tanalised) timber still holds the liquid carriers of its preservative, so it needs a period of seasoning before a topcoat will bond properly. Rushing this stage is one of the quickest ways to see a finish fail within a season.
Understanding these causes makes maintenance far easier. Once you know that water movement drives most failures, every later step - cleaning, drying, recoating and winter protection - follows logically from keeping the timber sound and the coating able to breathe.
How to Maintain a Painted Fence Year-Round
Learning how to maintain a painted fence is really about matching a few simple tasks to the right time of year. A fence that is checked each season rarely needs major work, because small problems are dealt with while they are still small. The rhythm below keeps the timber sound and the coating breathing from one year to the next.
| Season | Main focus | Typical tasks |
|---|---|---|
| Spring | Inspection and cleaning | Brush off moss and algae, rinse down, note any flaking |
| Summer | Recoating | Apply breathable finish in dry, mild weather away from harsh sun |
| Autumn | Protection | Clear debris from the base, check gravel boards, final touch-ups |
| Winter | Monitoring | Avoid painting, watch for standing damp and lifted patches |
Following this pattern spreads the effort and avoids the all-or-nothing repaint that many fences end up needing. Spring reveals the damage winter has done, summer offers the settled weather a good finish needs, and autumn is your chance to make everything watertight. Treat the fence as part of your regular garden routine and it rewards you with years of reliable service.
How Do I Clean a Painted Fence Safely?
Cleaning is the foundation of good fence care, and done gently it prolongs the finish rather than wearing it away. Start by removing green algae, lichen and moss with a stiff-bristled brush, working along the grain so you lift the growth without scoring the timber. These organic deposits hold moisture against the wood and stop any new coating from bonding.
Once the loose material is off, rinse the panels with a garden hose or a low-pressure washer to shift the remaining dirt. Keep the pressure modest and the nozzle moving; a high-powered jet held too close can strip sound paint and split soft timber, creating exactly the open grain that lets water in.
After washing, patience pays off. Allow the boards to dry for around 24 to 48 hours before applying any product, as painting damp timber traps water and causes the film to blister and lift.
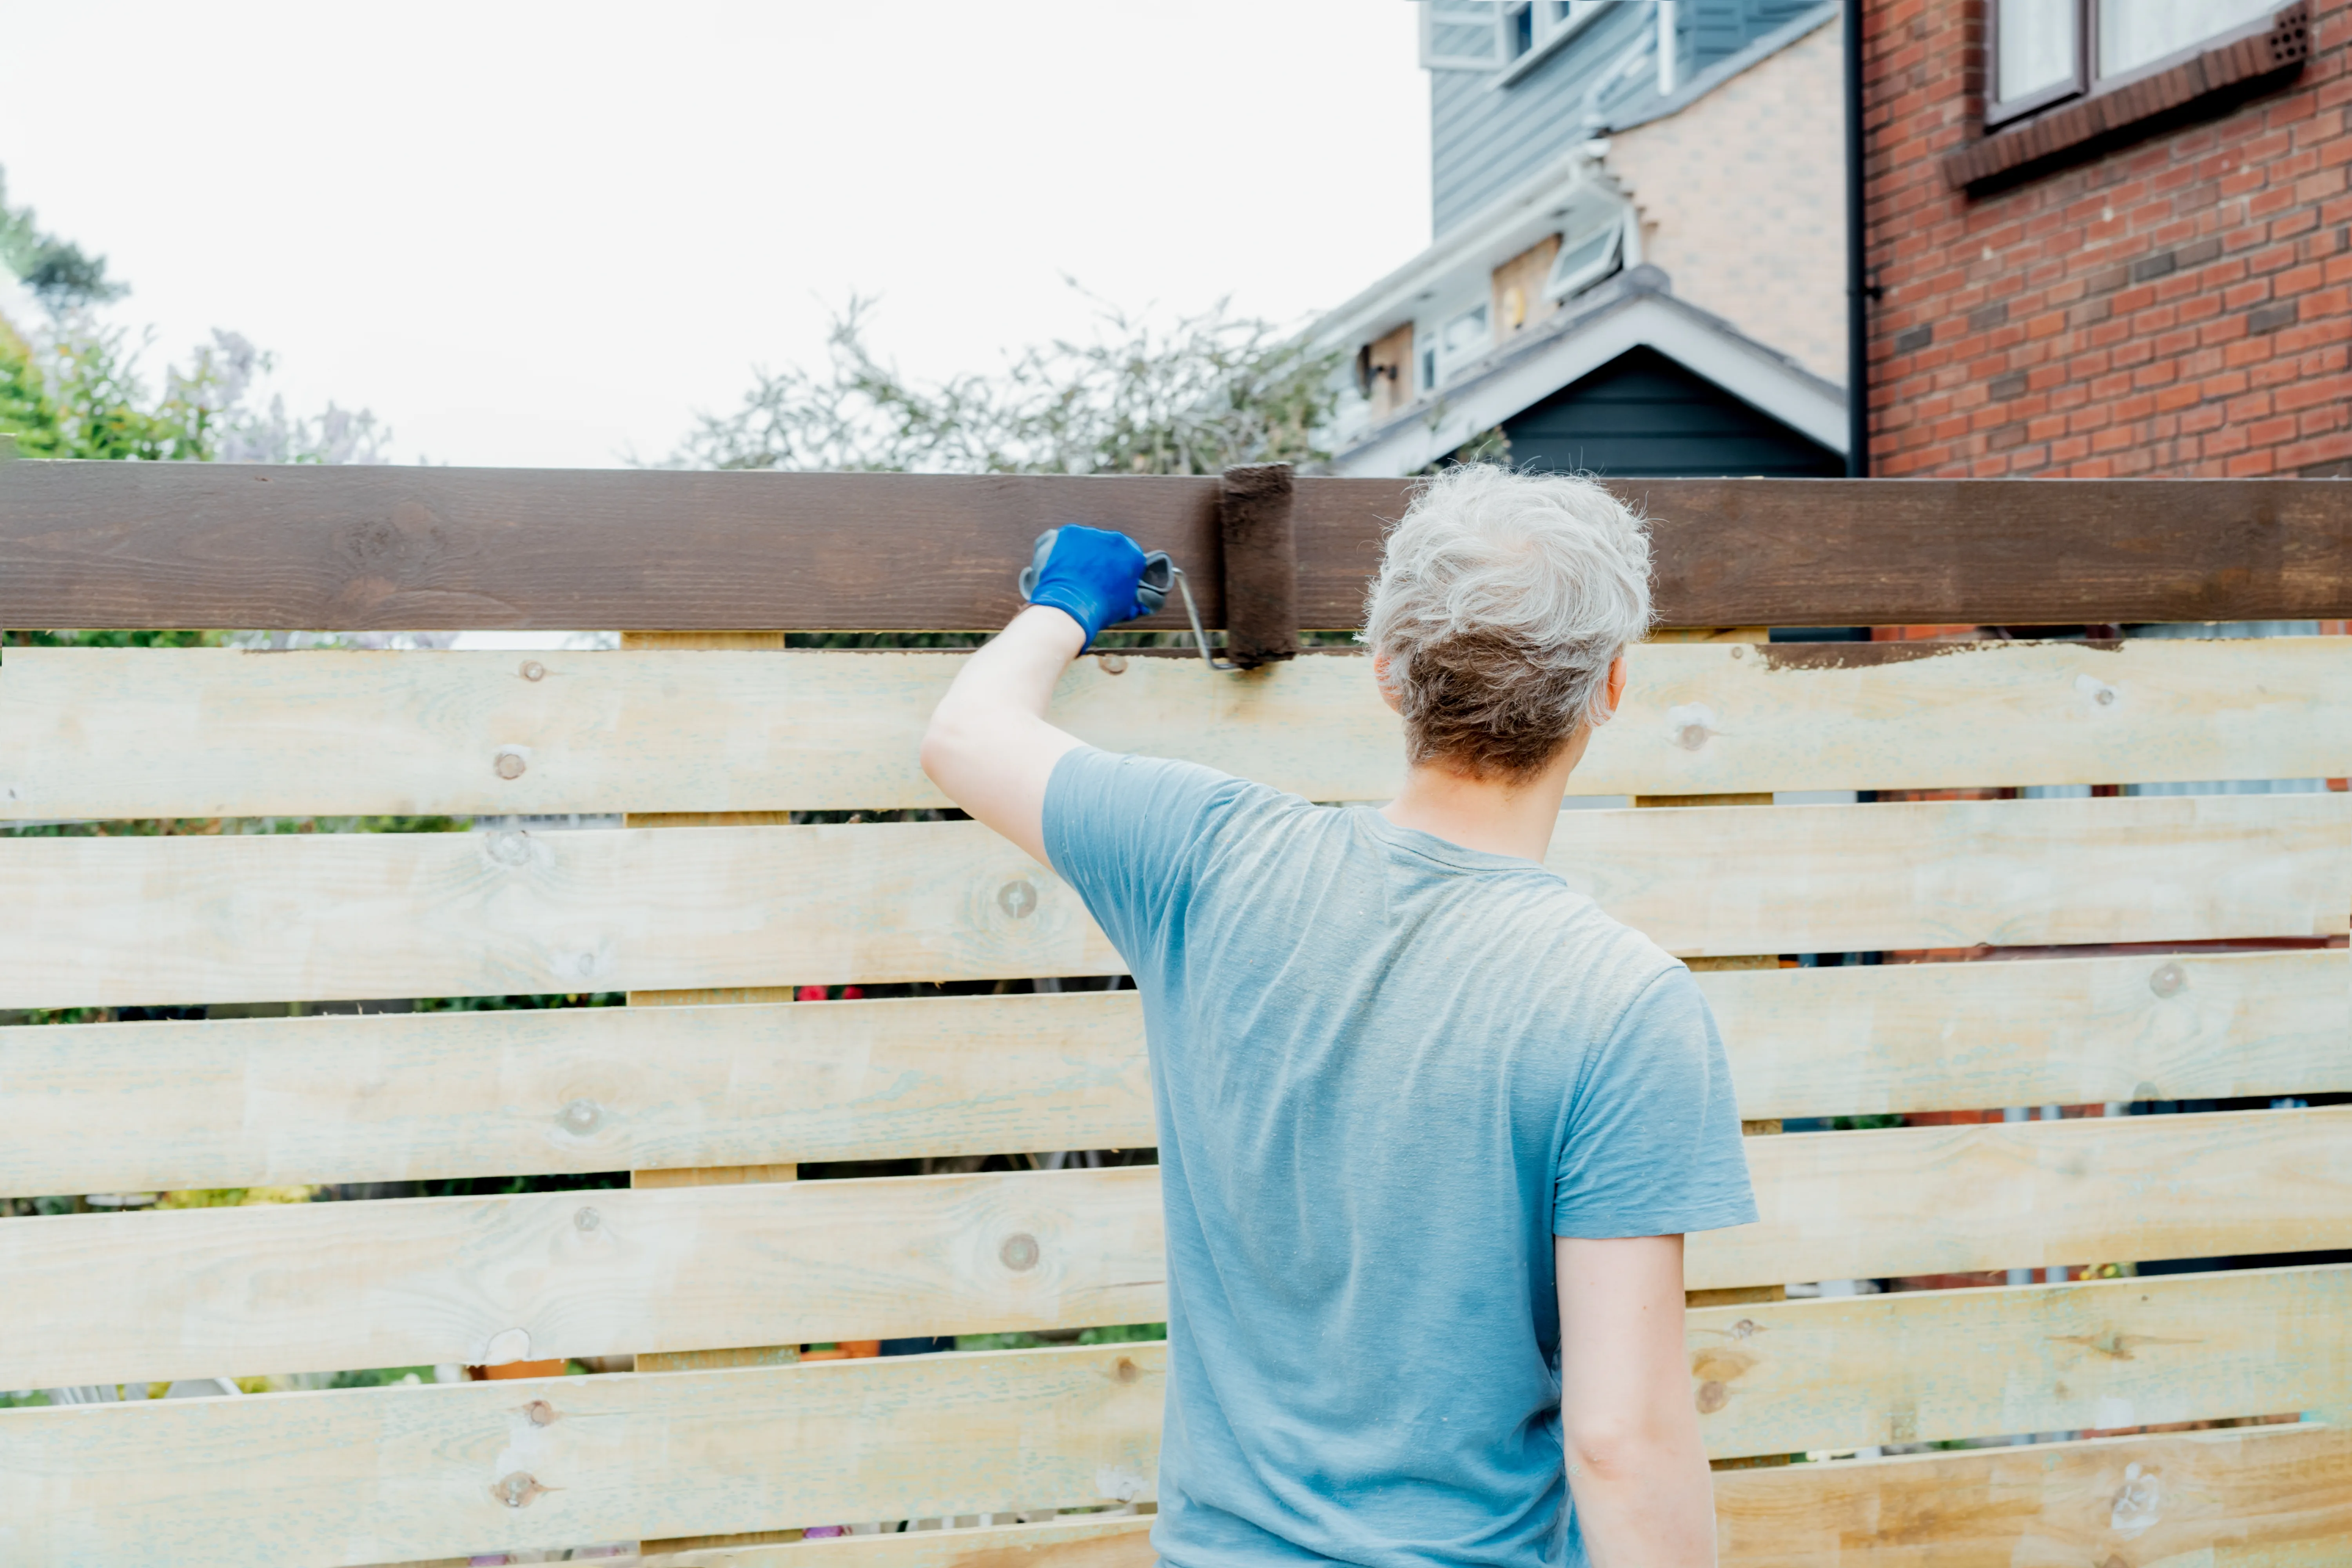
If you are only cleaning rather than recoating, this routine alone keeps the fence looking fresh between fuller maintenance sessions and makes the next repaint far easier to carry out.
What Signs Show a Fence Needs Repainting?
Timber usually tells you when its protection is fading, provided you know what to look for. The clearest test is to watch how rain behaves on the surface. On a sound coating, water beads and runs off; when droplets soak straight into the boards instead of sitting on top, the finish has lost its protective qualities and the fence is ready for renewal.
Other signals are easy to spot during a routine check:
- Flaking, cracking or peeling patches, especially on the sun-facing side
- Noticeable fading or patchiness in the colour
- Rough, furry or greyed timber where the film has worn thin
- Soft or spongy areas near the base that stay damp after dry spells
Pay particular attention to the lower sections and any end grain, as these absorb water first and often show wear long before the main faces. Catching these signs early means you can clean, prepare and recoat before moisture reaches the bare wood. Leaving it too long allows damp to penetrate, which weakens adhesion further and turns a simple refresh into a more involved repair.
How Often Should a Painted Fence Be Recoated?
There is no single schedule that suits every fence, because recoating intervals depend on exposure, the product used and how well the timber drains. A panel that faces driving rain and strong afternoon sun will need attention sooner than a sheltered run tucked behind planting. Rather than counting the months, let the condition of the timber guide you.
The water bead test is the most reliable indicator. Splash a little water across the boards: if it beads and sits on the surface, the coating is still doing its job; if it darkens the wood and soaks in, it is time to plan a fresh coat. Combining this with a seasonal visual inspection takes the guesswork out of timing.
Breathable, microporous finishes tend to wear evenly and fade gradually rather than peeling in sheets, which makes them easier to top up before any bare wood is exposed. Keeping the surface clean also stretches the interval, because algae and ingrained dirt accelerate the breakdown of the film.
When you do recoat, work in dry, settled weather and avoid both harsh direct sun and the risk of evening dew, so the new film has time to cure properly.
How Can I Protect the Fence Through Winter?
Winter is the hardest season for a painted fence, so the aim is to get it watertight before the wet months arrive and then simply monitor it. Autumn is the ideal time for any final cleaning or touch-ups, carried out in a dry spell while there is still enough mild weather for the paint to cure.
Most damage over winter starts at the bottom of the panels. A standard British fence uses gravel boards beneath the panels to stop moisture wicking up from the soil into the lower edges during the colder, wetter months. Check that these are intact, and clear away leaves, soil and debris that pile against the base and hold damp against the timber.
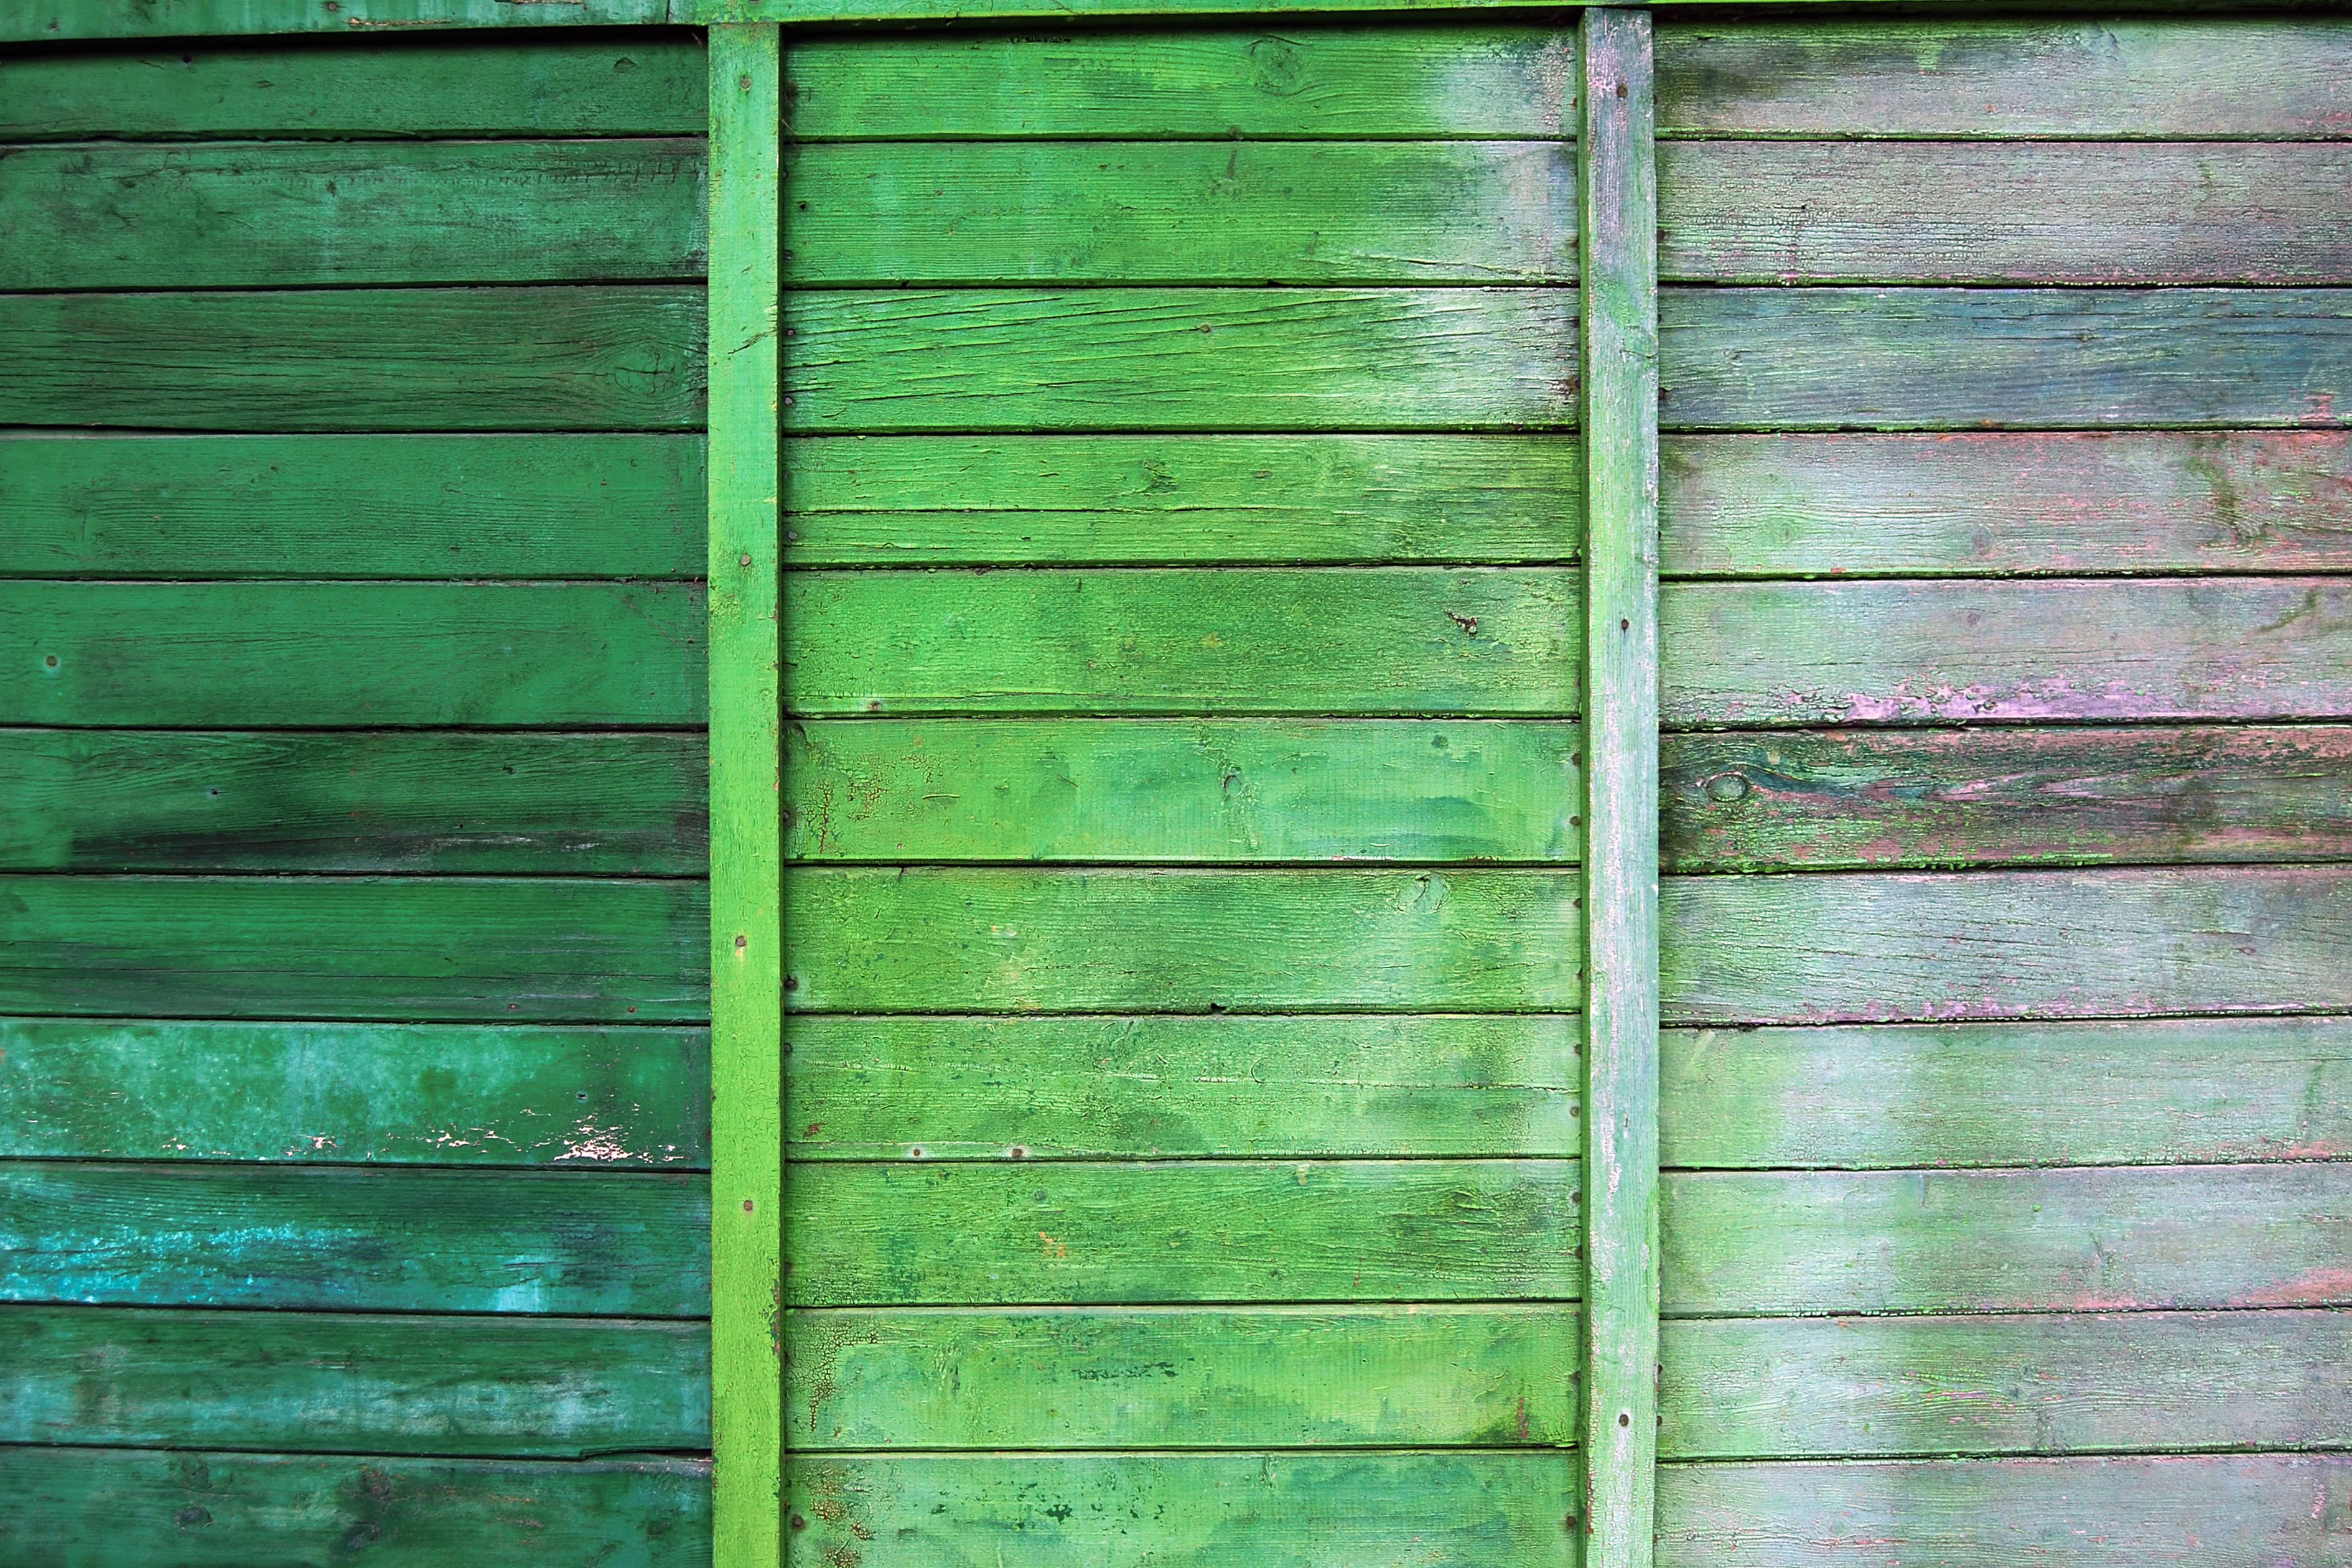
Where there is no gravel board, keep the gap between soil and timber as open as you can, and avoid stacking pots, bins or compost against the fence. Through the coldest weeks, resist the urge to paint; applying finishes in damp, frosty conditions or before evening dew prevents the film from forming properly. A quick look after storms to spot lifted sections is far more useful than any winter coating.
Edges, Boundaries and Choosing the Right Finish
A few details make the difference between a finish that lasts and one that fails early. Cut ends and the sawn edges of closeboard or featheredge panels are especially vulnerable, because exposed end grain draws water in like a straw. Treating these edges with a suitable preservative before painting helps seal the most absorbent part of the timber.
Product choice matters just as much. In Britain's damp climate, flexible microporous or breathable paints are the sensible option: they block wind-driven rain from soaking in while still letting water vapour escape from within the boards. It is also worth knowing that traditional creosote has been withdrawn from consumer use on safety and health grounds, so only modern, purpose-made treatments and preservatives are now permitted for garden timber.
If your fence sits on a boundary, think about your neighbour before painting the far side. Rights over a shared or boundary fence vary from property to property, so it is worth confirming who owns which side and checking the position with your local authority if you are unsure, as the details depend on your particular case.
For a hard-wearing result on a tricky fence, our fence painting service can prepare the timber and apply a breathable finish suited to your garden.
Bringing Your Fence Care Together
Maintaining a painted fence comes down to a steady routine rather than hard work: clean gently, watch how water behaves, recoat before bare wood appears, and protect the base through winter. Breathable finishes, well-sealed edges and good drainage all help the timber stay sound for longer. Keep an eye on the signs we have described and you will catch small issues before they spread. If you would prefer expert hands for preparation or a fresh coat, we are happy to take a look, talk through your options and help your fence look its best. Get in touch for a free quote.
FAQ - Frequently asked questions
Is it better to use a solid paint or a penetrating stain on a fence?
Both can work, but they behave differently: a solid paint forms a film on the surface, while a penetrating stain soaks into the grain. In a damp climate, a breathable, microporous finish is a sensible choice because it keeps rain out while letting moisture escape from inside the timber.
Can I paint a fence straight after heavy rain if it looks dry on top?
It is best to wait, as the surface can look dry while the timber beneath still holds water. Allowing roughly 24 to 48 hours of dry weather first helps prevent blistering and peeling once the paint goes on.
How can I protect nearby plants and paving while I recoat?
Cover borders, shrubs and paving with dust sheets or protective covers before you begin, and move pots and furniture clear of the fence. Choose a still, dry day so there is less chance of drips or overspray drifting onto surfaces you want to keep clean.
Do I need to prepare a new fence before painting it?
New pressure-treated panels need a period of seasoning so the liquid carriers in the preservative can evaporate before a topcoat will bond. Give the timber time to settle, keep it clean and dry, and test how water behaves before deciding it is ready.